Italians have the right perspective about food—make it rich, make it right, and then enjoy the heck out of it.
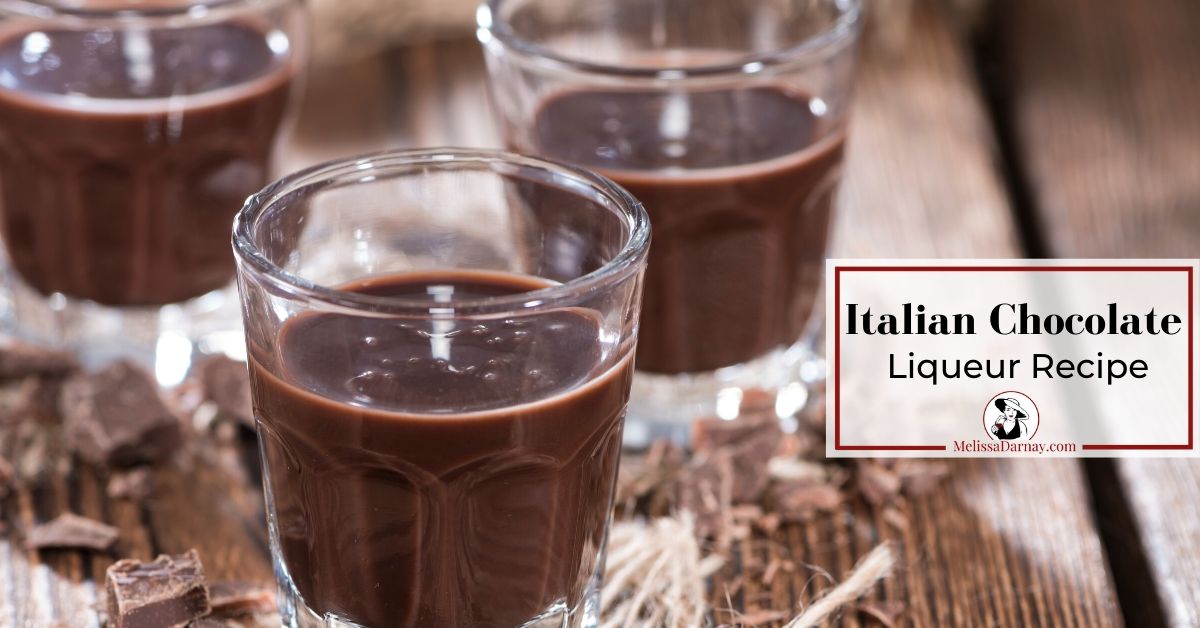
Chocolate Liqueur is no exception. It’s rich, smooth, chocolatey and has the right amount of kick to let you know this isn’t for kids.
When you’re in Italy—especially around the Amalfi Coast—you can find chocolate liqueur on every corner. But in the Americas, you’ll pay dearly for the smallest taste.
I introduced my husband to Chocolate Liqueur on our recent trip to Italy, and my husband-who-barely-drinks fell madly in love with it. After returning home, I saw my small stash dwindling as he helped himself to generous pours after dinner each night.
I recently paid $28 for a tiny 1-ounce bottle of this chocolate nirvana at a specialty store in Panama, so short of sewing his lips together or locking the rest of my liqueur in a safe, I knew I had to create my own recipe. I then did what any desperate woman would do…I Googled it. After pulling together a few core ingredients, I started experimenting.
Right off the bat I knew I couldn’t get the traditional Everclear as the alcohol base. As a mixer, it’s perfect because it’s both tasteless and odorless, allowing the chocolate to be the hero. For those of you who are curious, keep your inner cat at bay because if you spend too much time trying to taste this 95% alcohol heavyweight, you will either need a new liver … or at the very least a video recollection of the blackout you’re sure to have.
I settled on vodka. I even tried to kick it up a notch with vanilla vodka, but I couldn’t taste the difference, so regular vodka is fine. If you want to switch it up a bit, you can add half vodka and half rum. This is my current favorite method, but my favorite method changes each month, so I didn’t put this in the actual recipe.
When I started experimenting, I wanted to make a lighter version so I wouldn’t feel guilty when I drank it. Most recipes called for whole milk or even cream. As a foodie, I struggle to make better choices each day, so I knew whole milk and cream were off the table. I started my experiment with 2% milk… and it worked.
If you just escaped from a deserted island and are struggling to gain weight, by all means, use whole milk in this recipe. Otherwise, the 2% milk will give you a great end product with much less guilt.
Some of you might be tempted to swap ingredients, so I’ll take you through my journey so you can avoid some of the mistakes of my early batches.
Batch #1 was made with Valrhona bittersweet 85% cocoa chocolate that I chopped and melted into the milk. The taste was good but even after I strained it three times, it was still chalky and had an unpleasant finish on the palate.
Batch #2 was made with Hershey’s Special Dark Chocolate. The texture was better but it lacked the ultra-rich flavor I was looking for.
Batch #3 was made with premium Dutch Cocoa Powder (24% cocoa butter), and this was the winner. It took a few more batches to get the consistency correct, but this led to the final recipe.
Warning… this is a 3-day recipe. Please be patient!
Italian Chocolate Liqueur Recipe
1 1/2 cups of Dutch Cocoa Powder (24% cocoa butter is best)
1 1/2 cups granulated sugar
1 tsp. Kosher salt
1 Tbsp. Vanilla extract
2 cups vodka (or half vodka & half rum)Day 1
Start by pouring the milk, cocoa powder, salt and sugar into a heavy saucepan and whisking it together until it’s smooth. Then cook over medium-low heat for about 45-50 minutes. You want the heat to be high enough for it to create tiny bubbles and steam, but not so hot that it burns. I found that 4 out of 9 on my dial is the perfect setting. You want to cook it down to make it thicker, giving it the feeling of cream on your tongue without the calories.I find that setting my timer is the best way to keep me on track, especially because I’m constantly doing seven things at once. Set your timer for 45 minutes and make dinner, bake cookies, or maybe reorganize your spice drawer. Whatever. Just don’t leave the kitchen. You don’t have to stir it constantly, but don’t want to walk away from it entirely, either. Just stir occasionally as you’re doing something else in the kitchen.
When it’s thickened to the consistency of a thin gravy, turn the heat off and let it cool. Keep whisking it every few minutes so it doesn’t form a skin on the top. Once it’s cool, transfer it to a covered container and put it in the refrigerator overnight.
Day 2
Whisk in the vanilla and vodka. Pour into sterilized, upcycled bottles. Screwtop bottles are easiest to reseal, and dark green or brown bottles are best, as clear bottles will look messy once you have poured a bit out of the bottle. Keep the closed bottles in the refrigerator. It should stay good for months, but honestly, I can’t keep mine around that long. You can taste it but the flavors haven’t melded yet.
Day 3
Shake the bottle, pour a glass and enjoy. My husband likes it over ice, and I prefer it alone in a glass. If you can limit yourself to a one-ounce glass, you’re a better person than I am.


0 Comments